Elvira Part 1 - Intro/Chassis
Elvira Write-up Navigation Next: Motor Driver
Introduction
When I was living in California before grad school I rented this big ‘ol house with lots of “character”. Among its many quirks, it had what we’ll refer to as a “mild” spider infestation. Like any average, totally normal 20-somethings, my roommates and I would collect black widows to keep as pets and display on our mantle in a pickle jar. They were generationally referred to as “Elvira I-IV”.
Unfortunately once I started grad school in Colorado my access to an arachnid wonderland in the basement was cut short. Feeling lost, confused, and malcontent, I decided to take matters into my own hands…
Cue the Hans Zimmer brass section
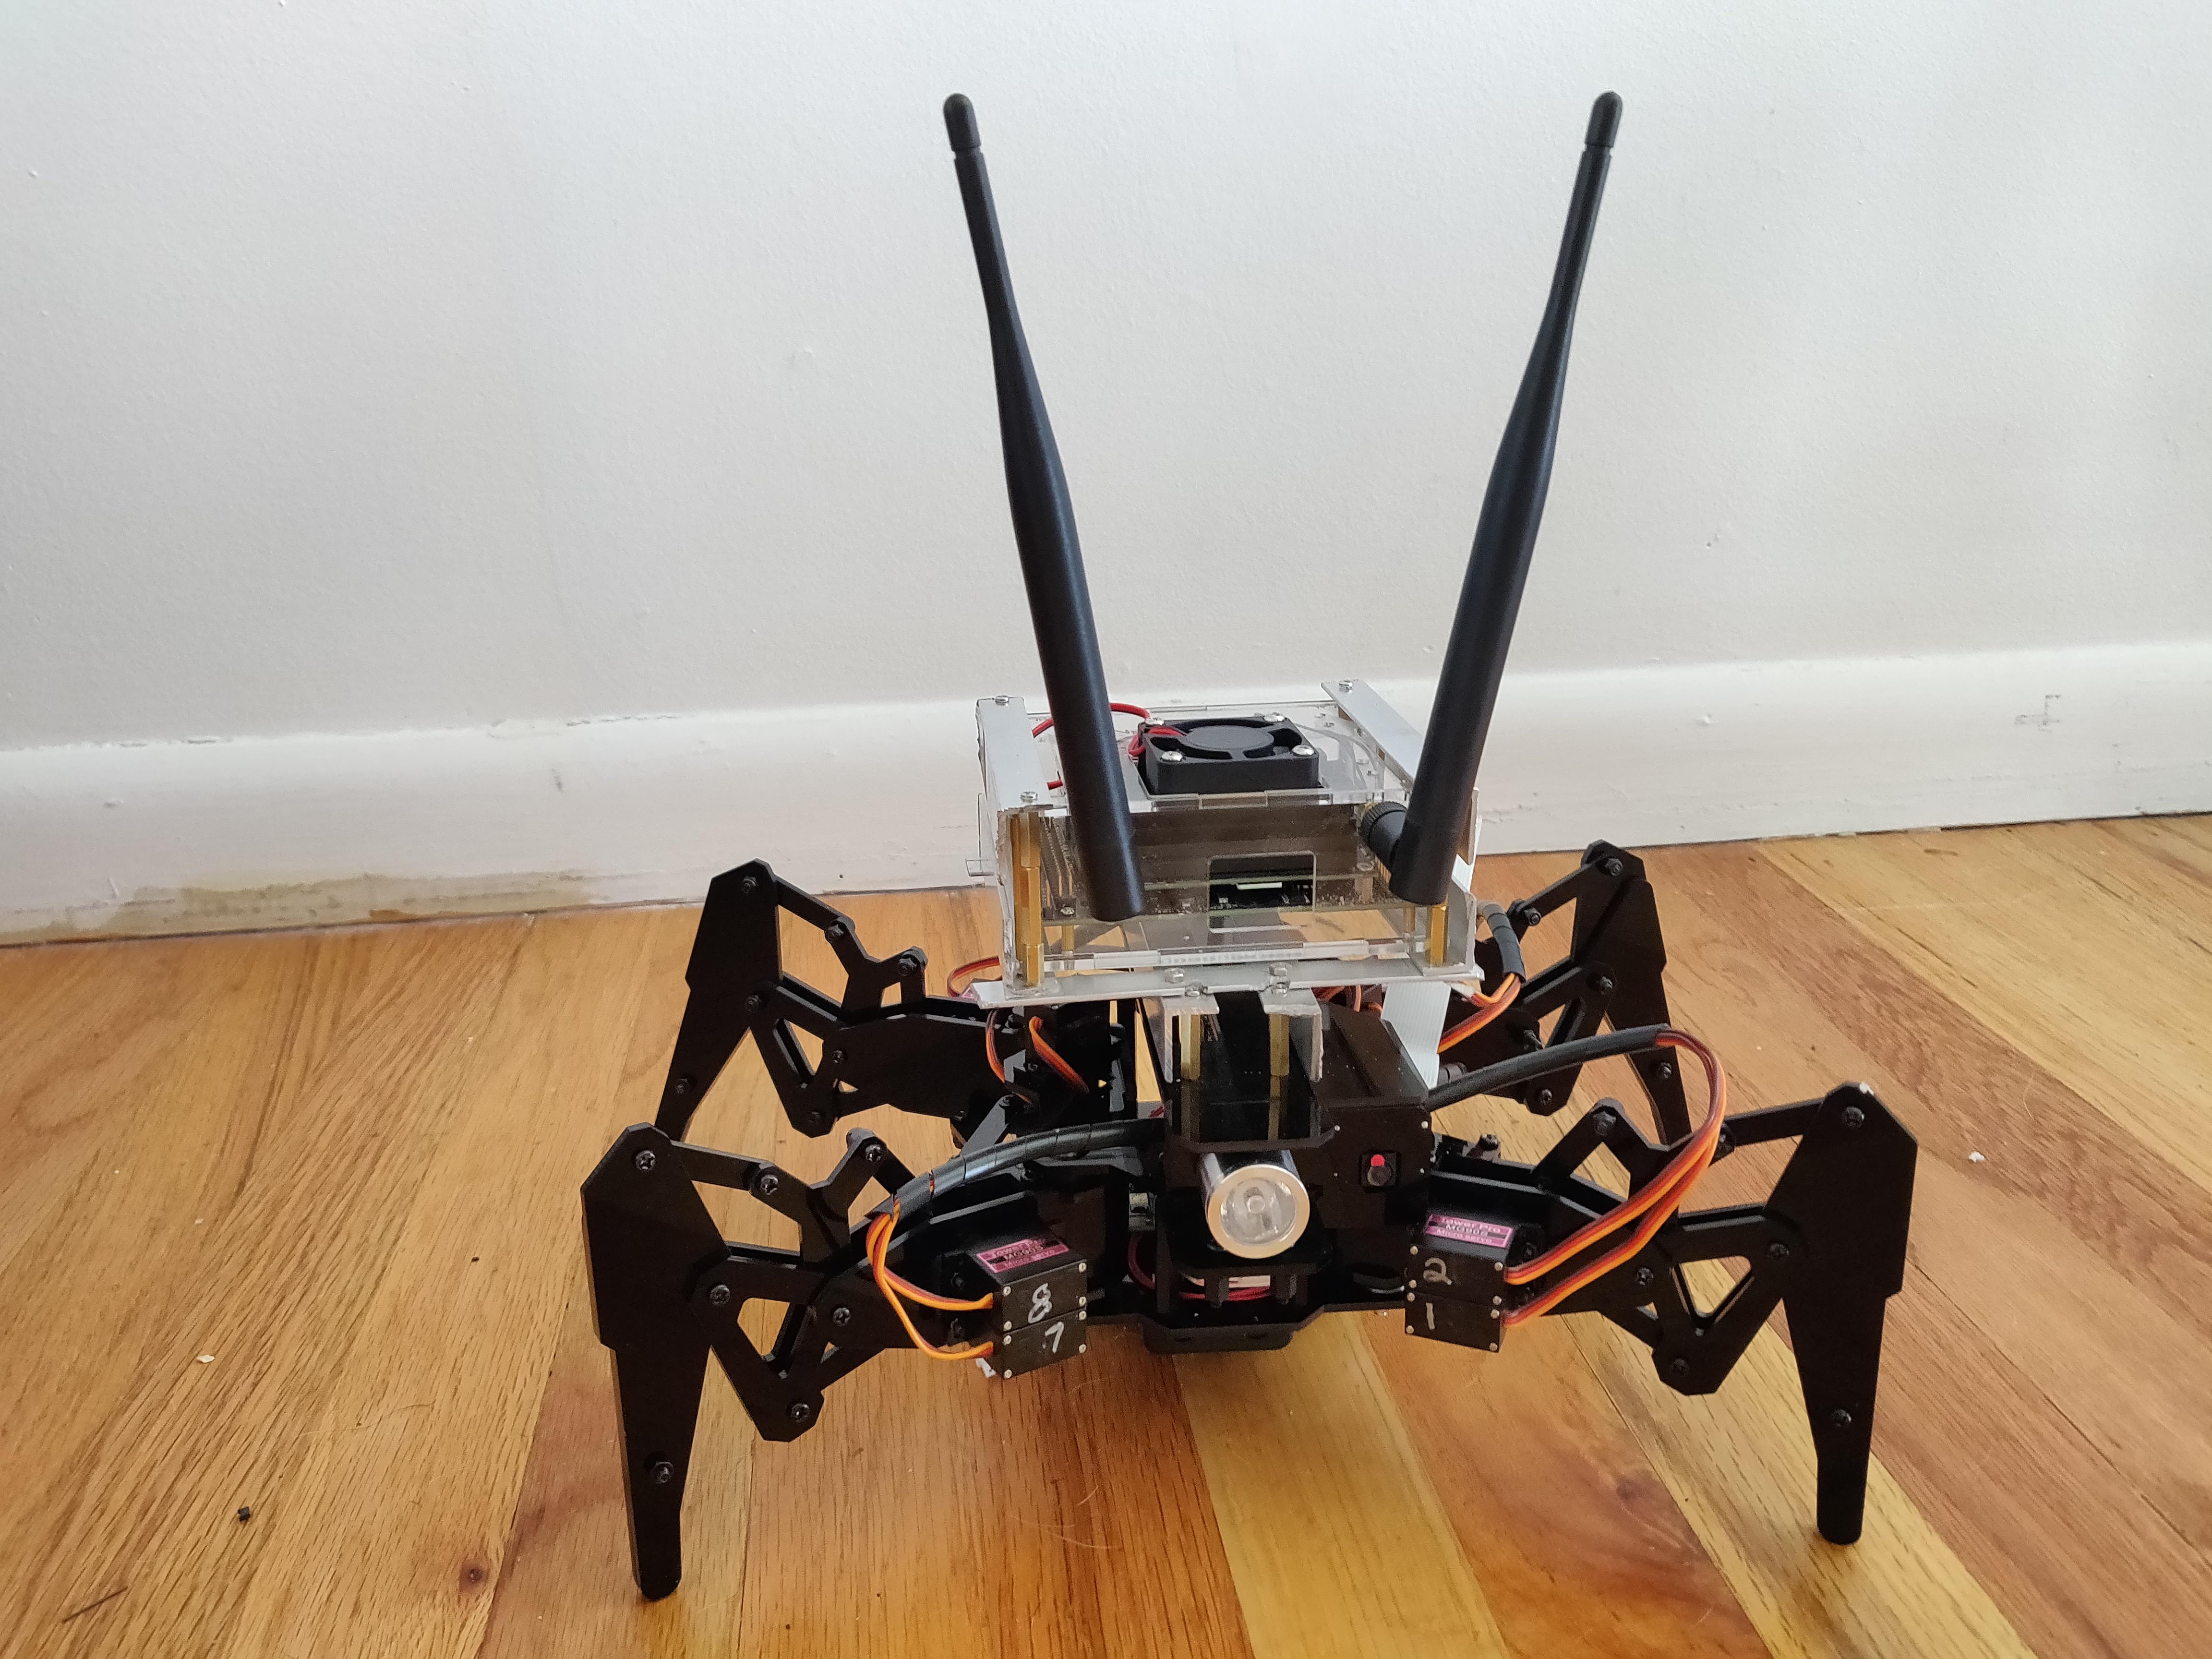
… and thus Elvira V was born.
Project Description/Goals
Elvira is based on the Darkpaw quadruped chassis from Adeept. Although originally designed to use a Raspberry Pi, I decided that wouldn’t be enough computing horsepower to handle the functionality I plan to implement. As such, I also got an Nvidia Jetson Nano for its brain. Although the Darkpaw kit has code developed already, I plan to write as many of the drivers/low level stuff myself as possible.
I plan to use this as a practical (and frickin’ sweet) platform to explore stuff like:
- Computer Vision
- Machine Learning
- Autonomous Navigation
- Embedded Systems
- State Estimation
Chassis Assembly/Retrofit
The actual assembly of the quadruped chassis was pretty simple and the instructions for the Darkpaw assembly from Adeept were clear enough.
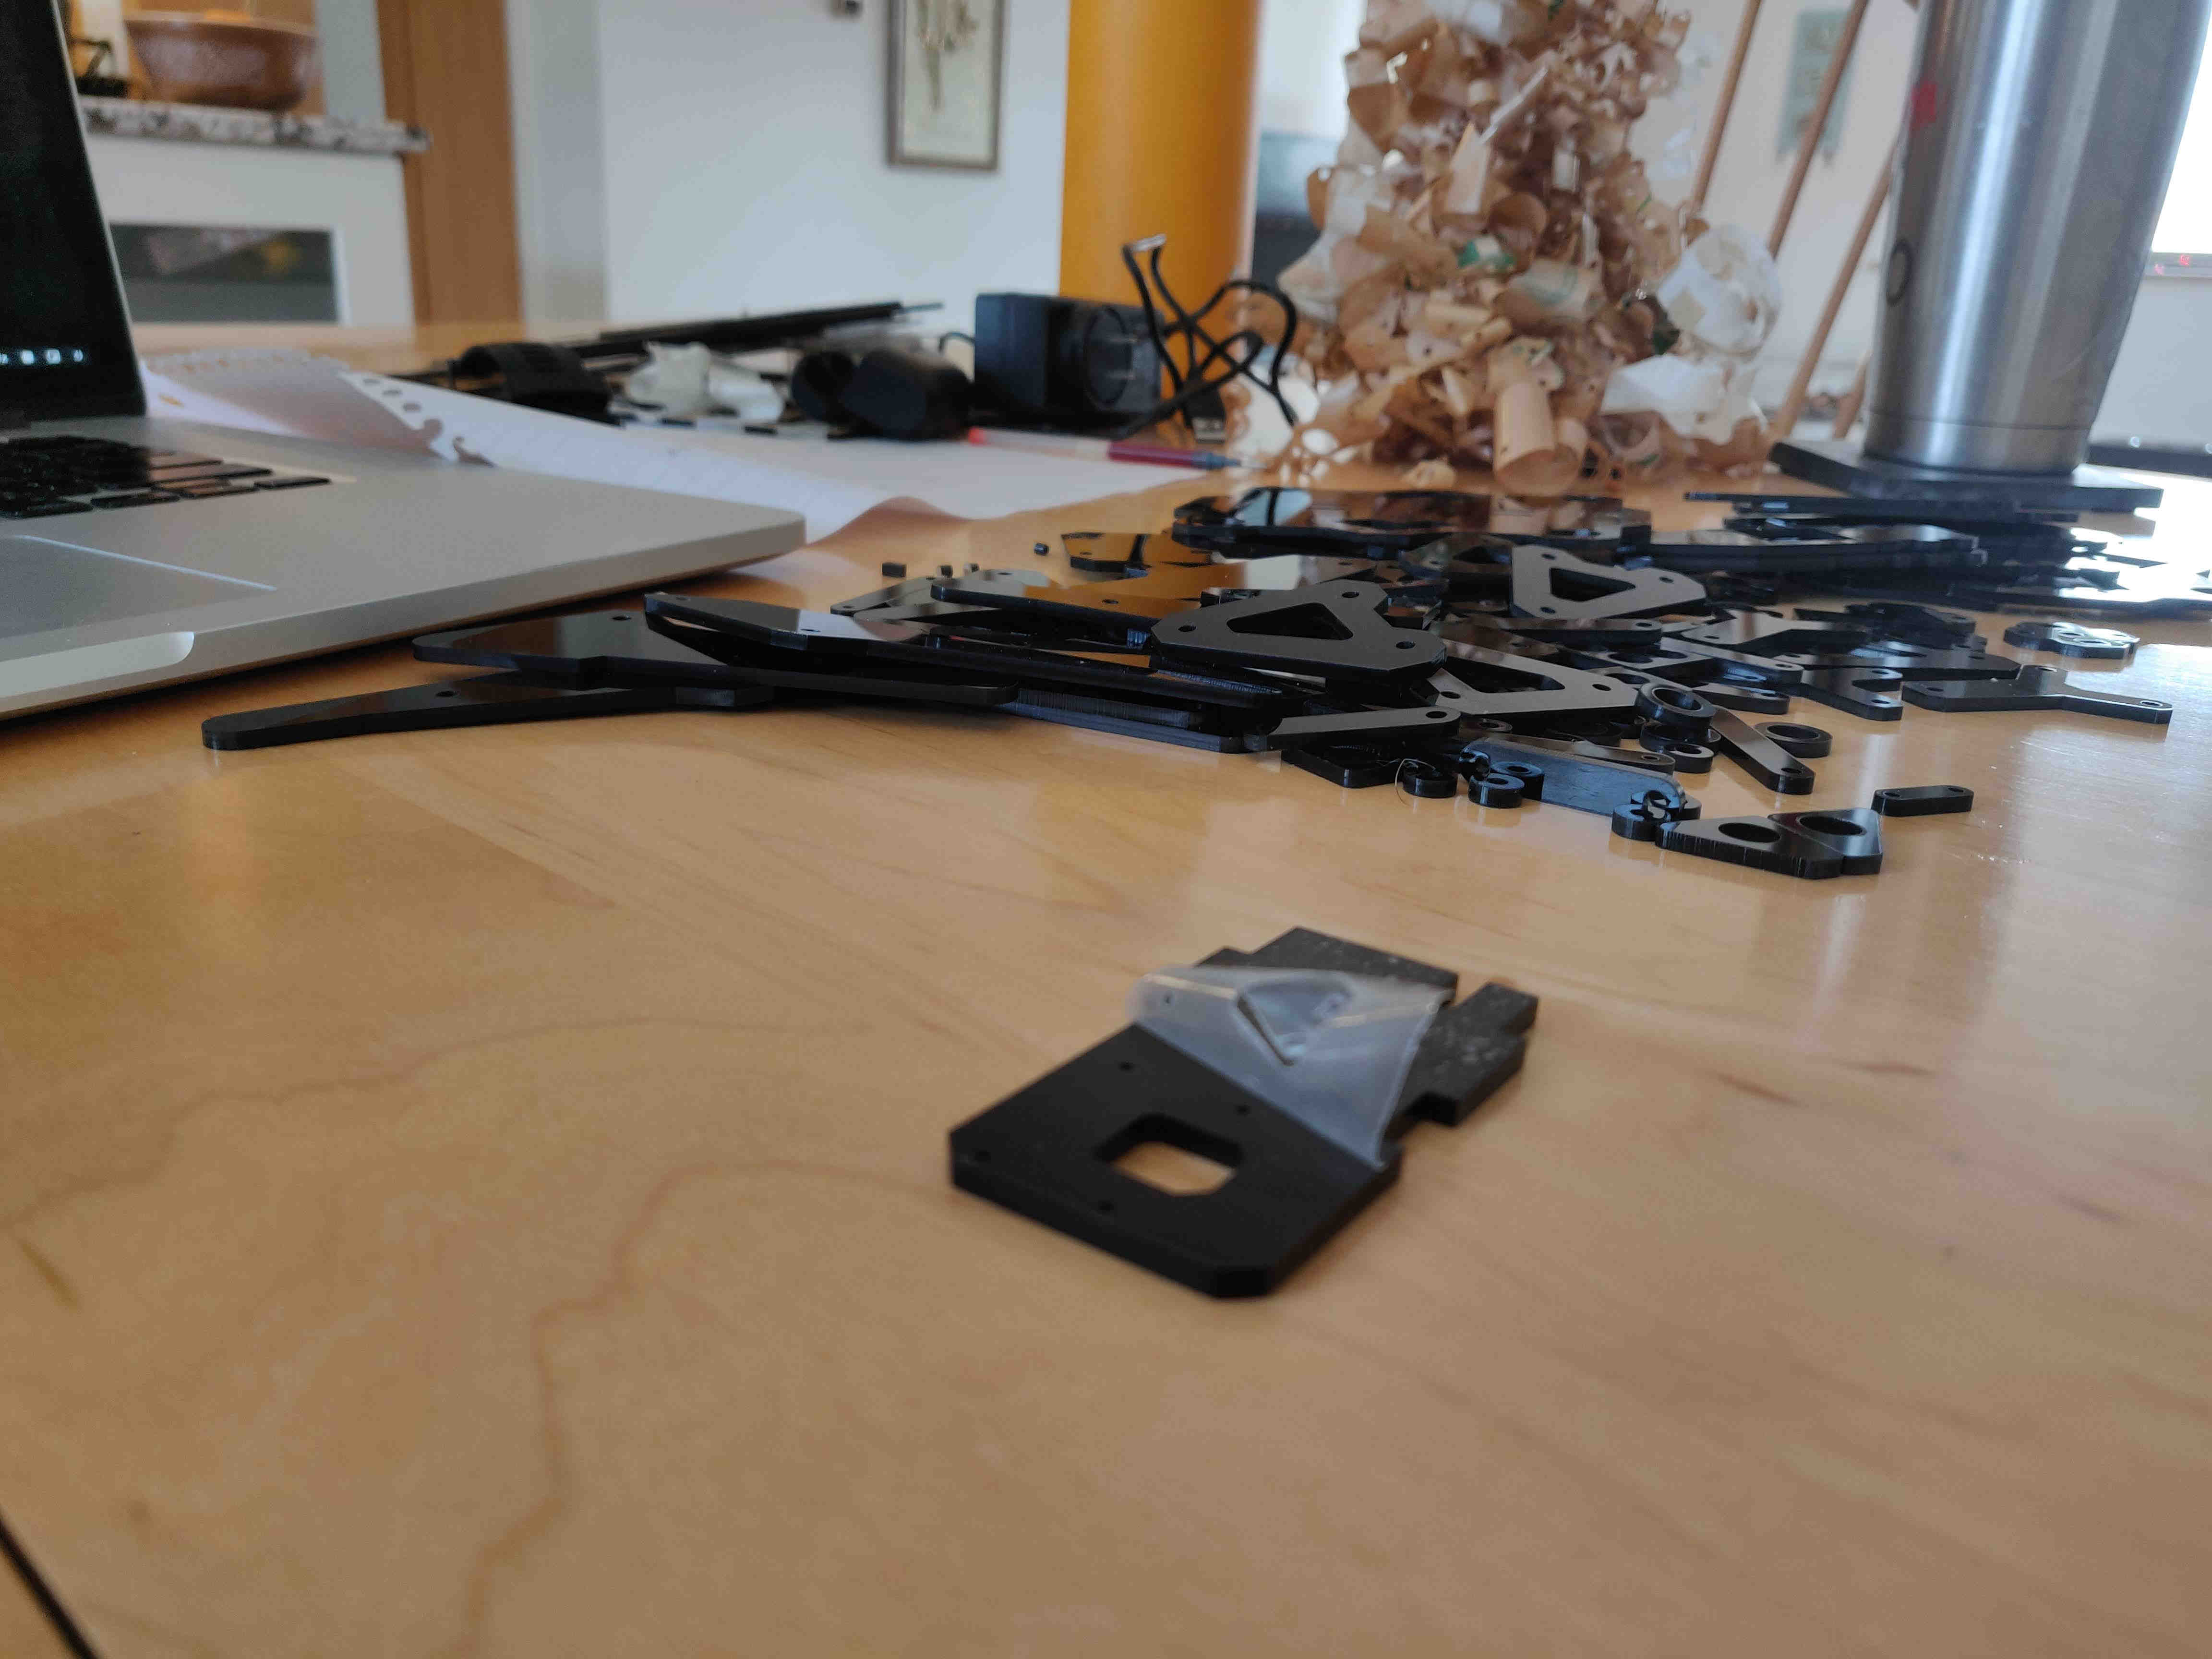
Removing wrappers from acrylic was a huge pain
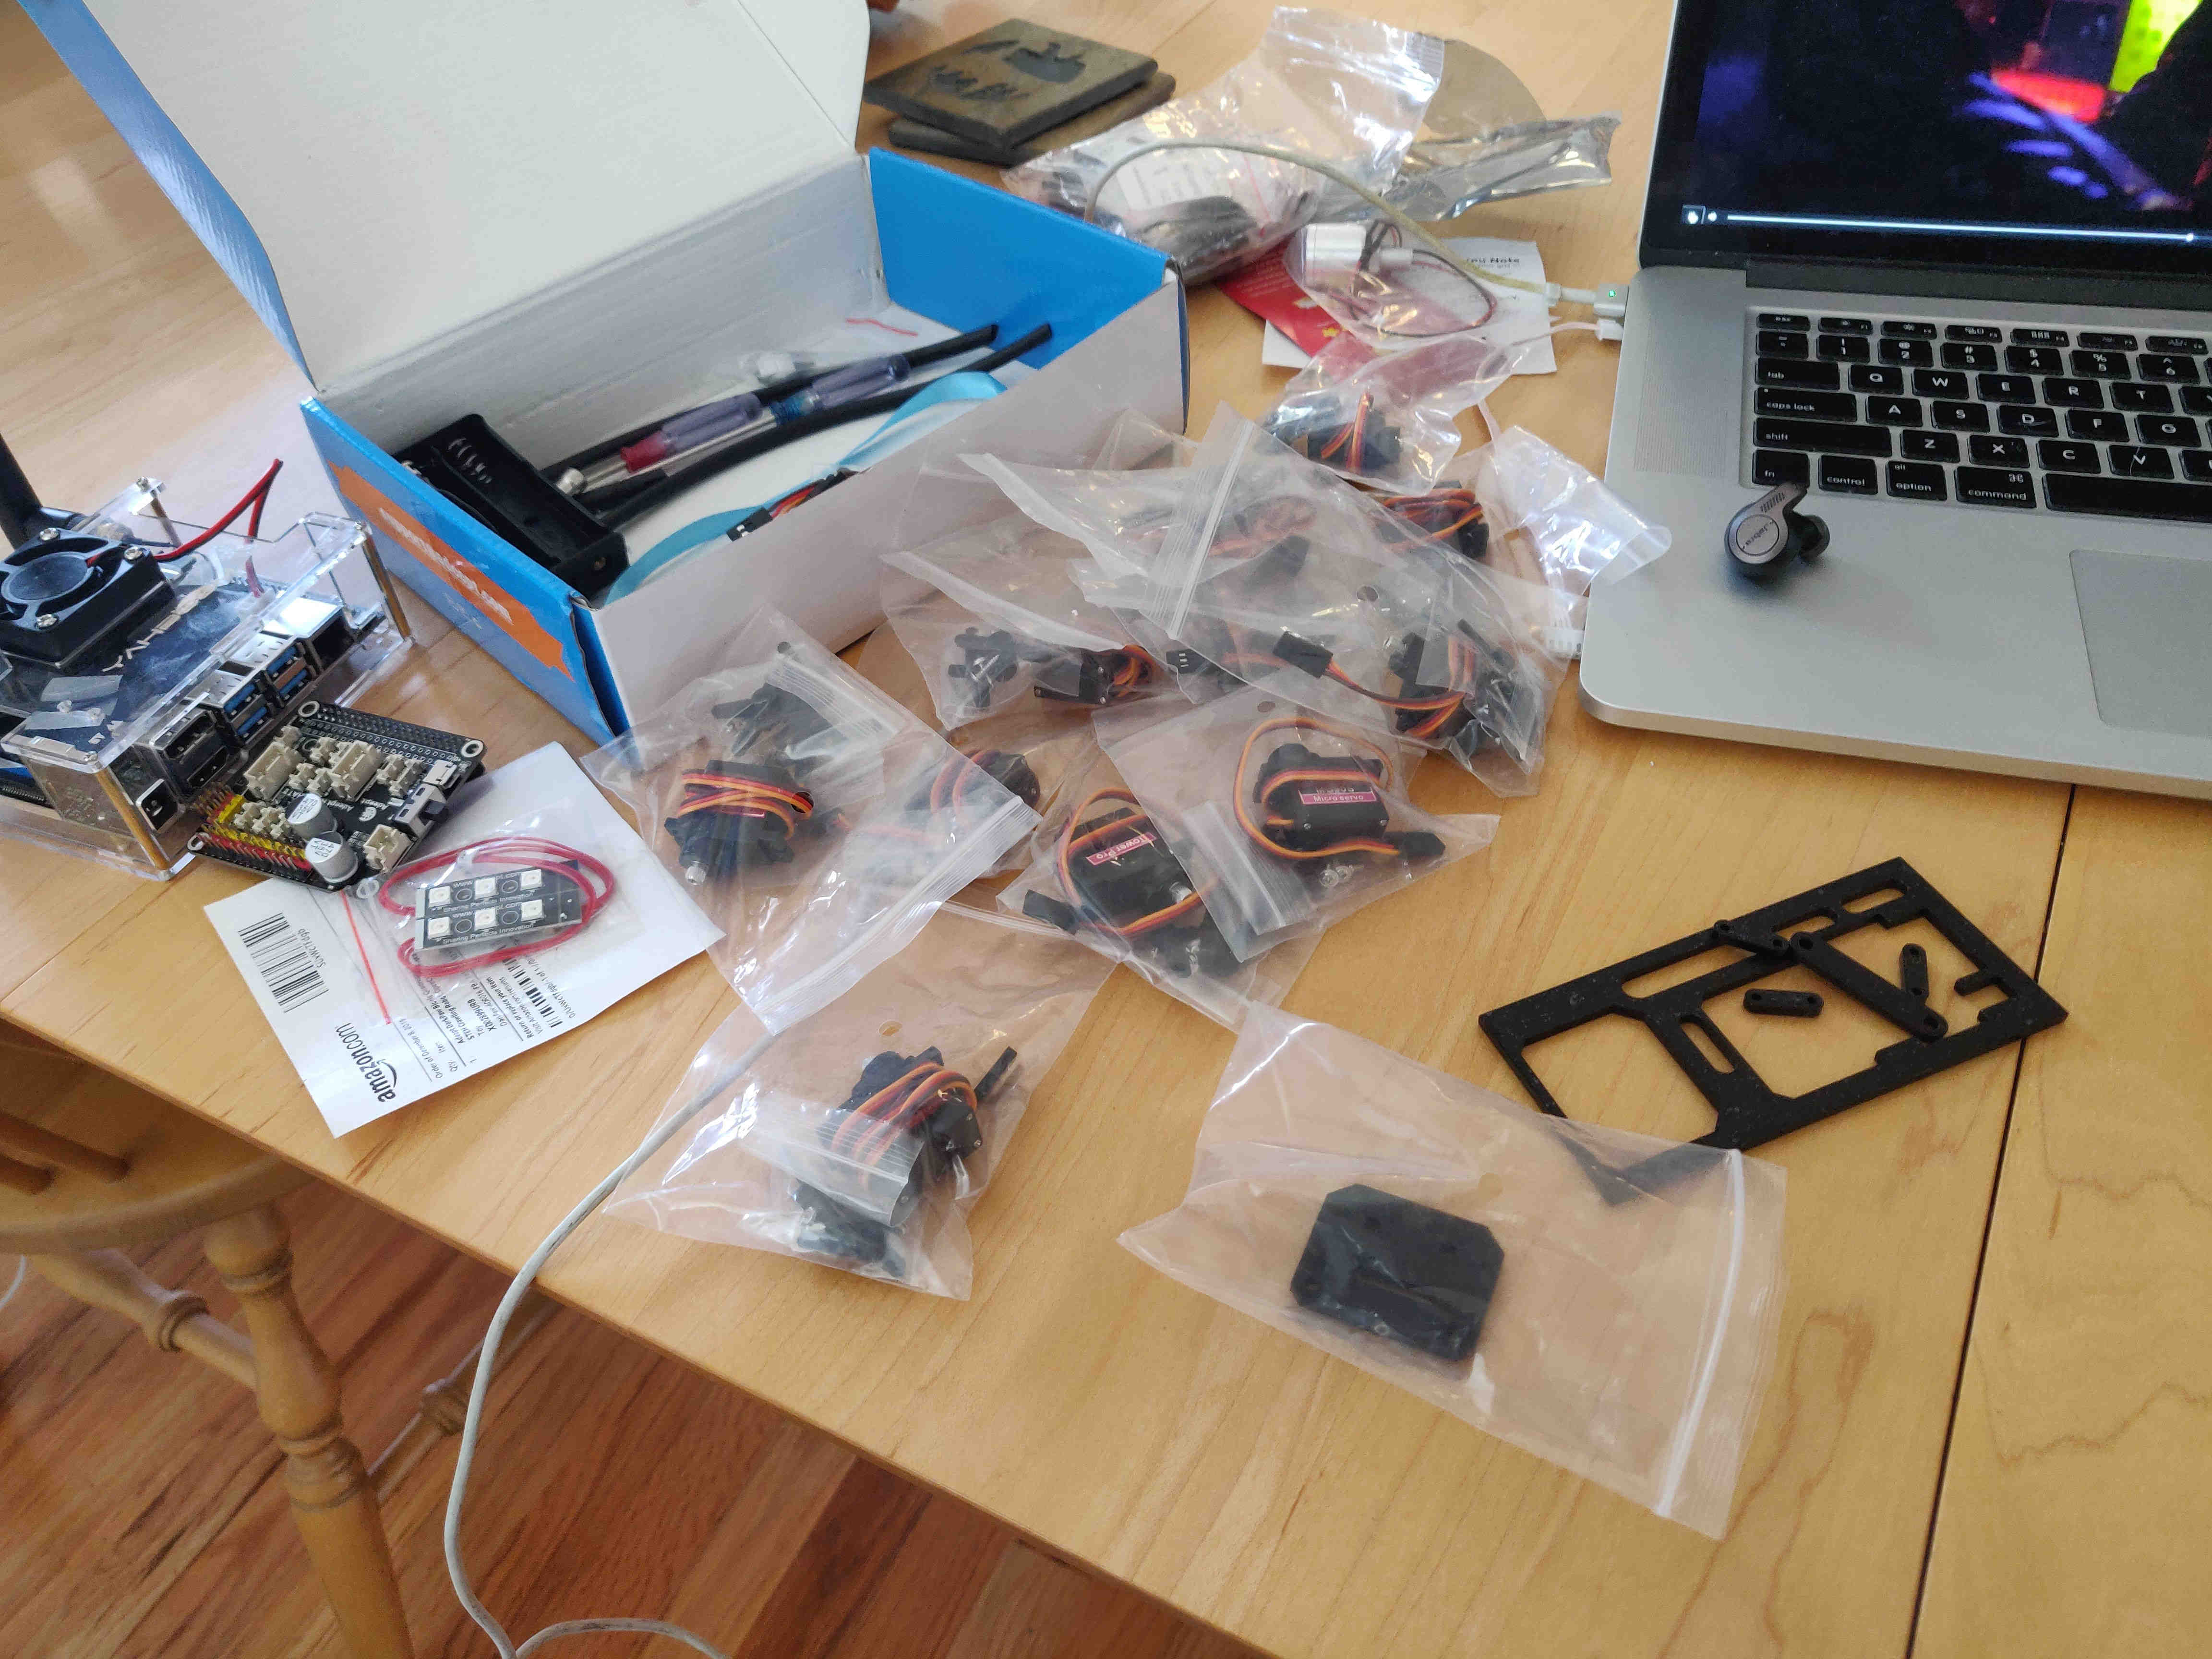
Lots of little motors
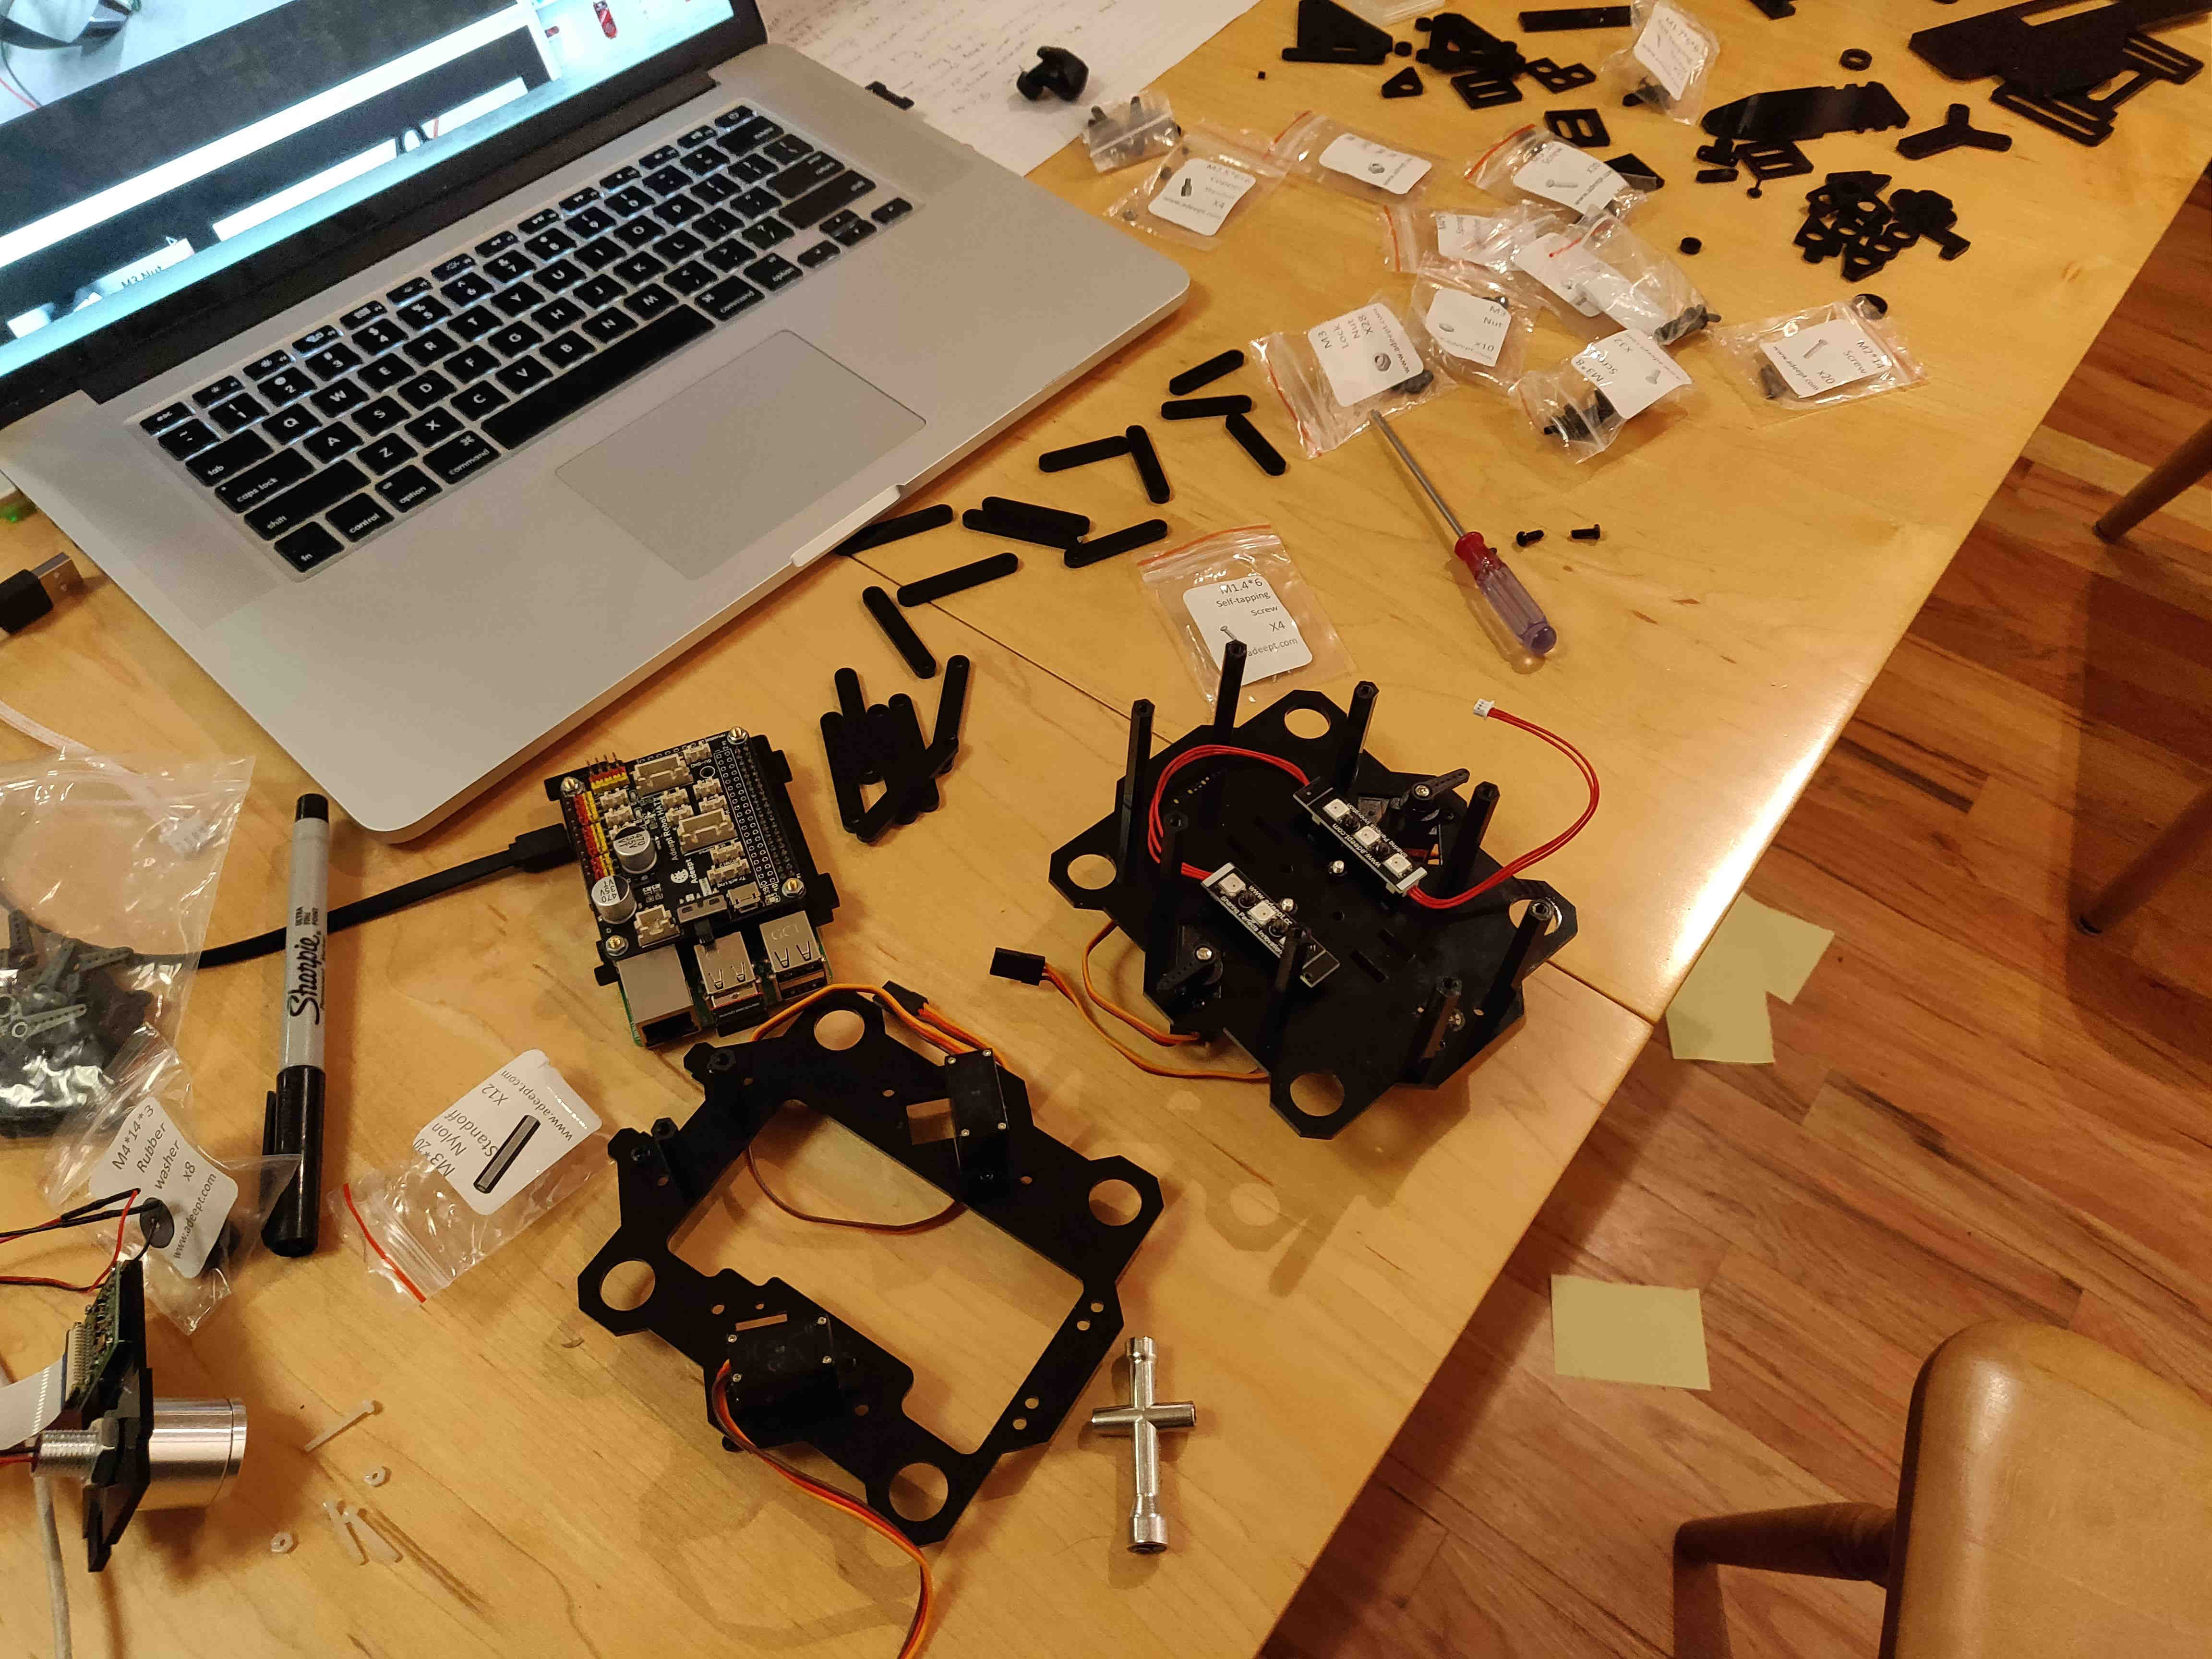
building the thorax (?)
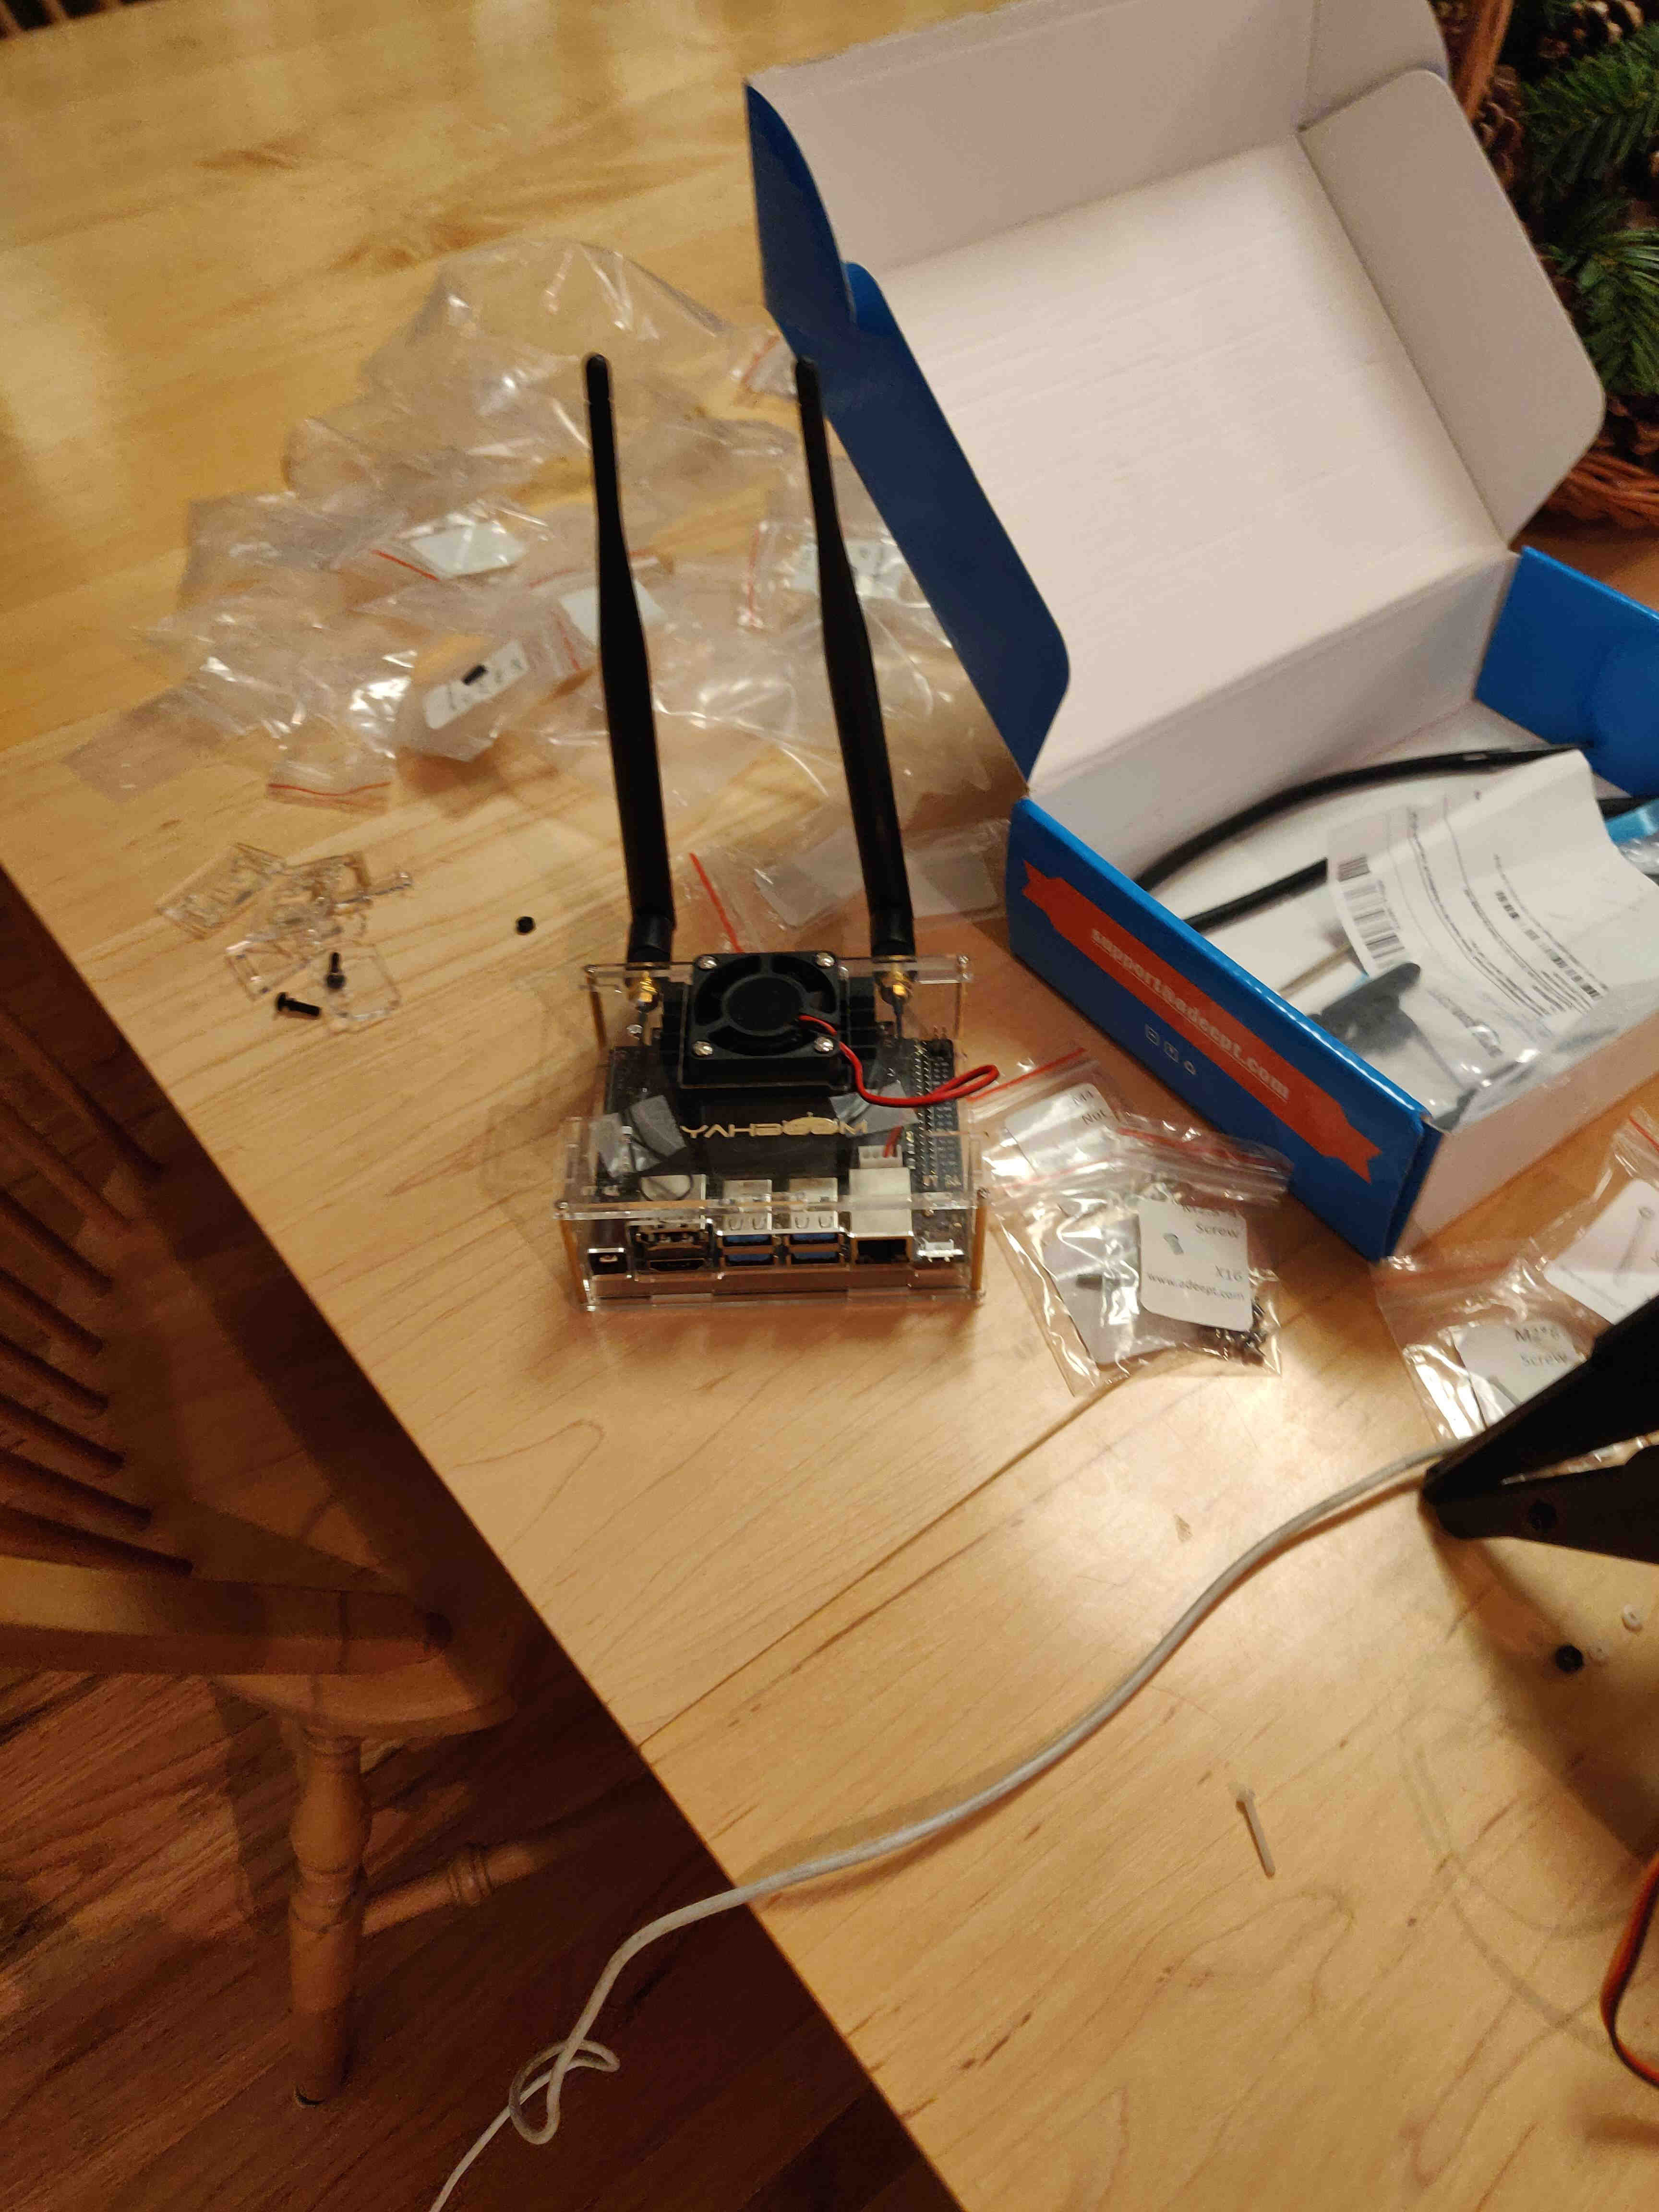
Brain before the radical reverse lobotomy operation
After assembling the stock body, I took some aluminum angle/flat bar and brass standoffs to retrofit the chassis to hold the Jetson. The Jetson and its case/fan/WiFi+Bluetooth antennas are much larger than the Raspberry Pi so I ended up throwing everything on top of the stock Darkpaw chassis.
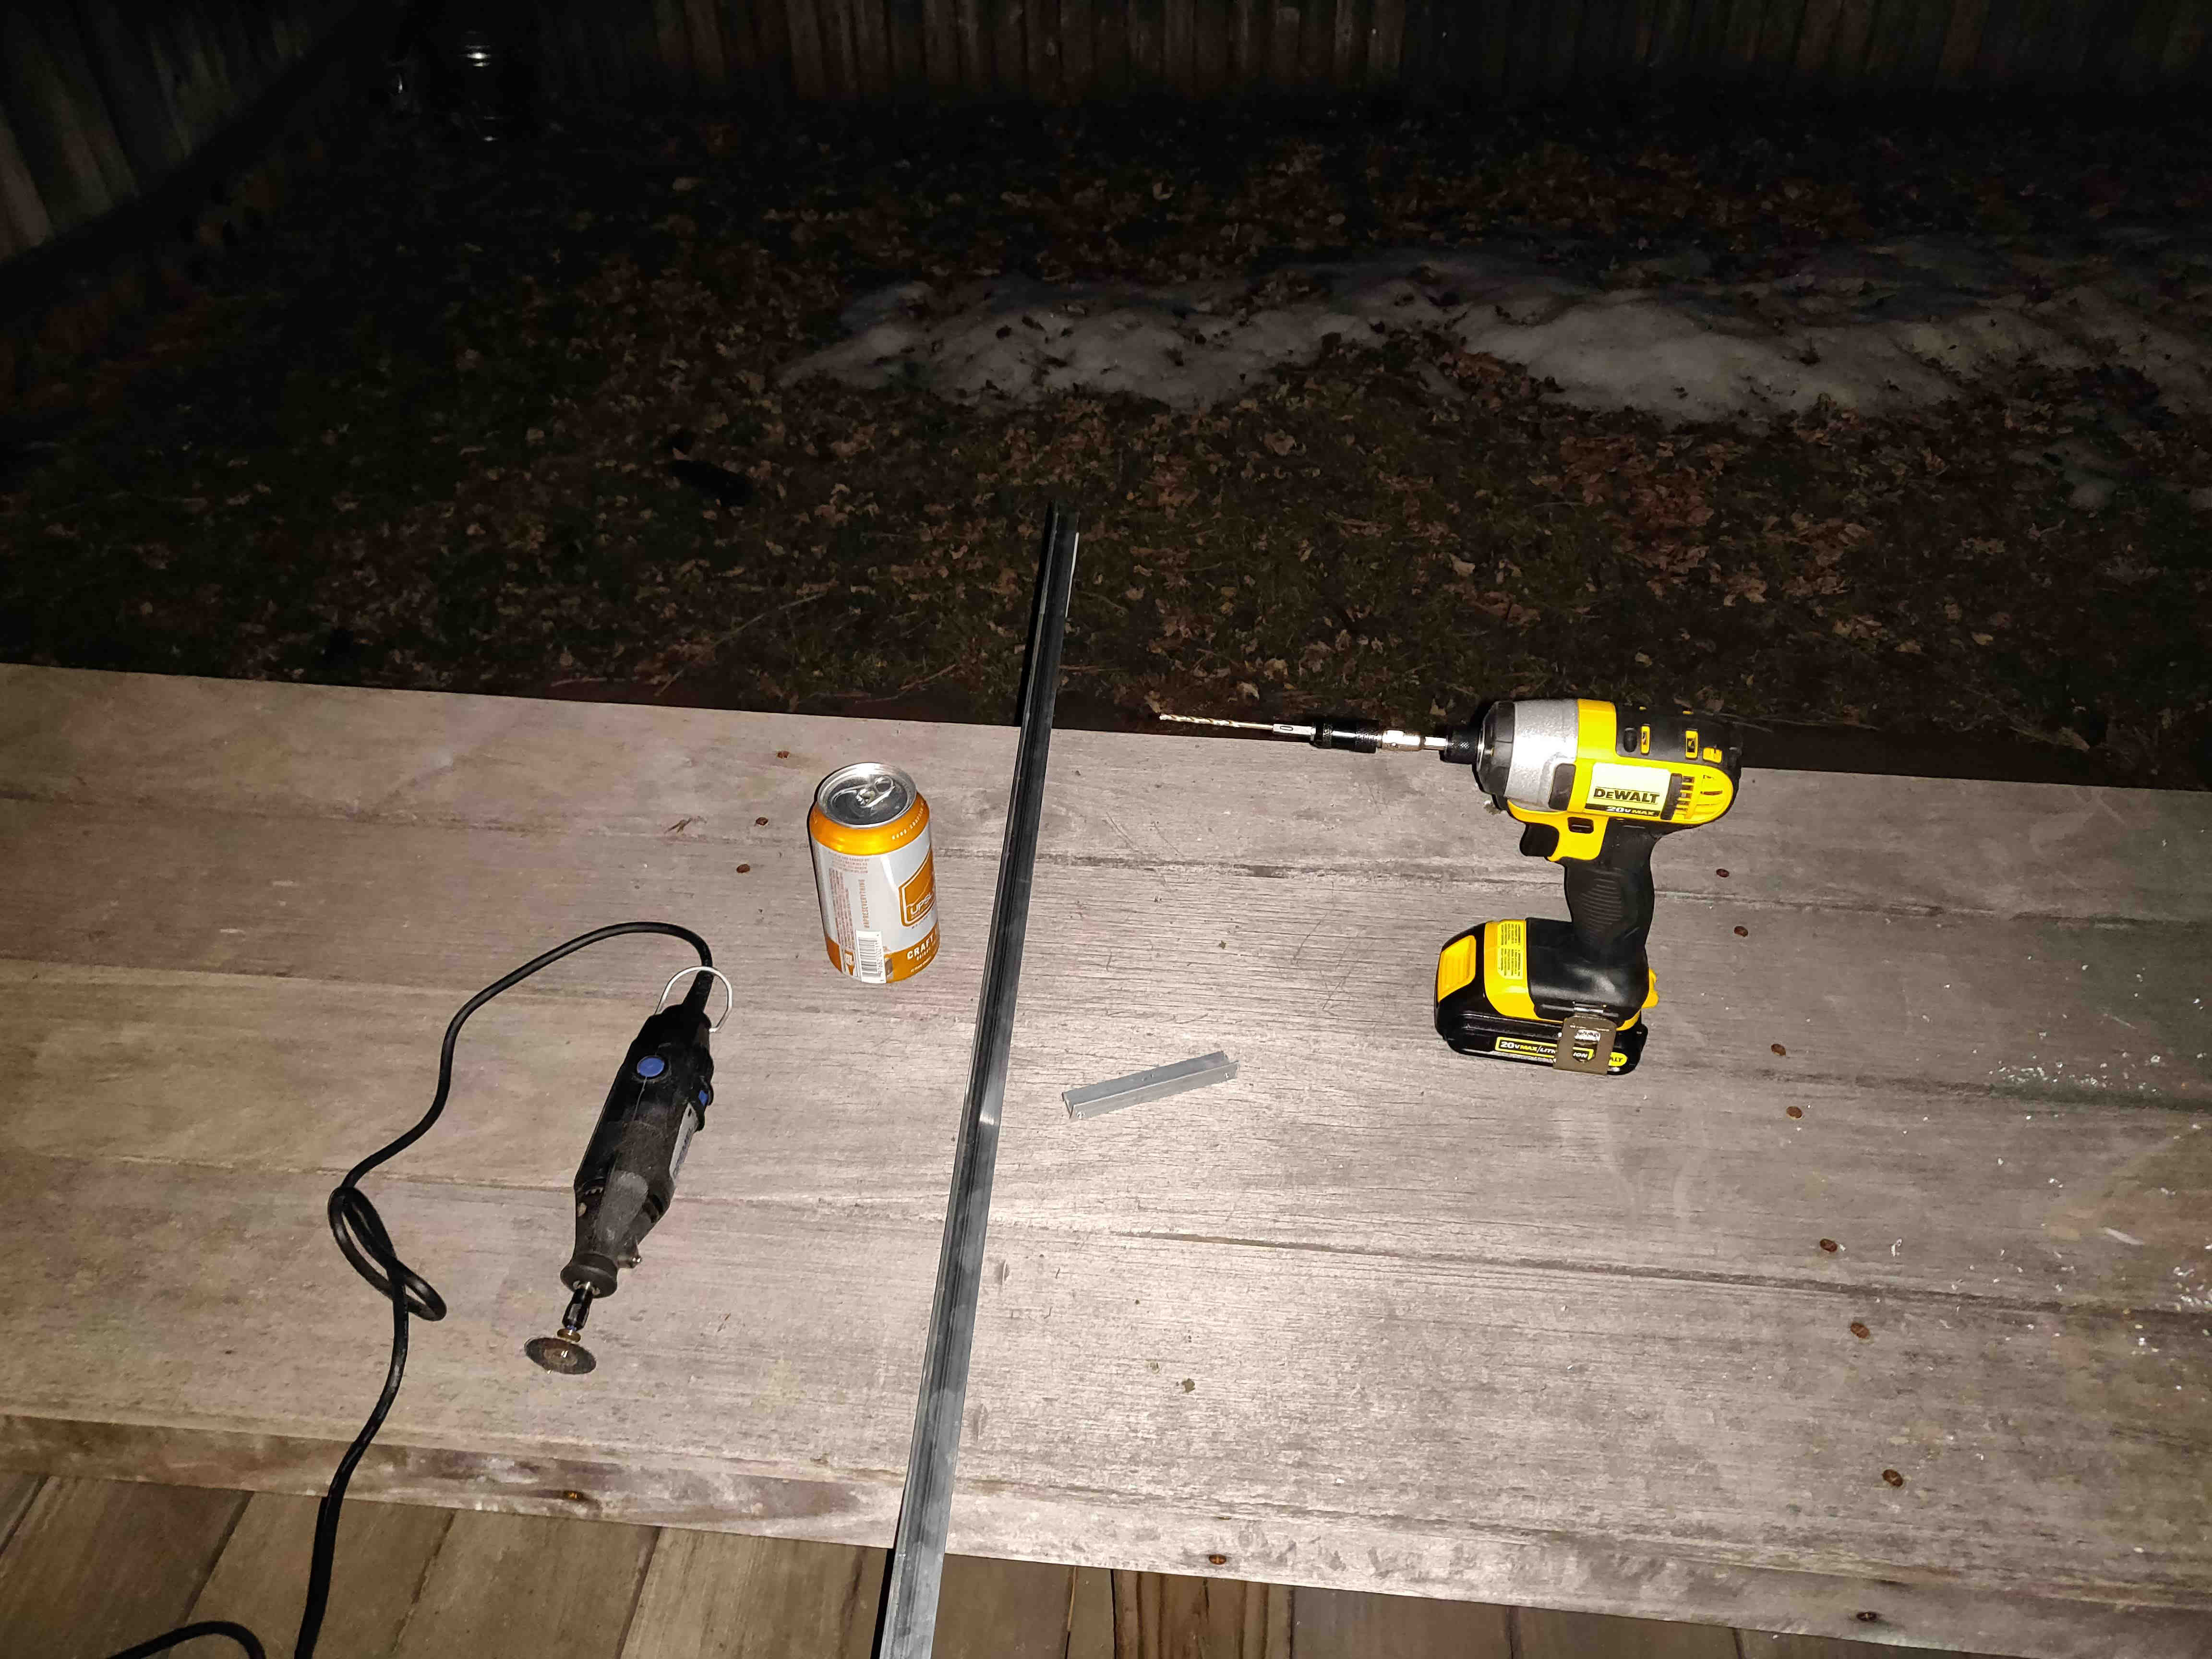
Tools of the trade. Next time I will use a laser cutter
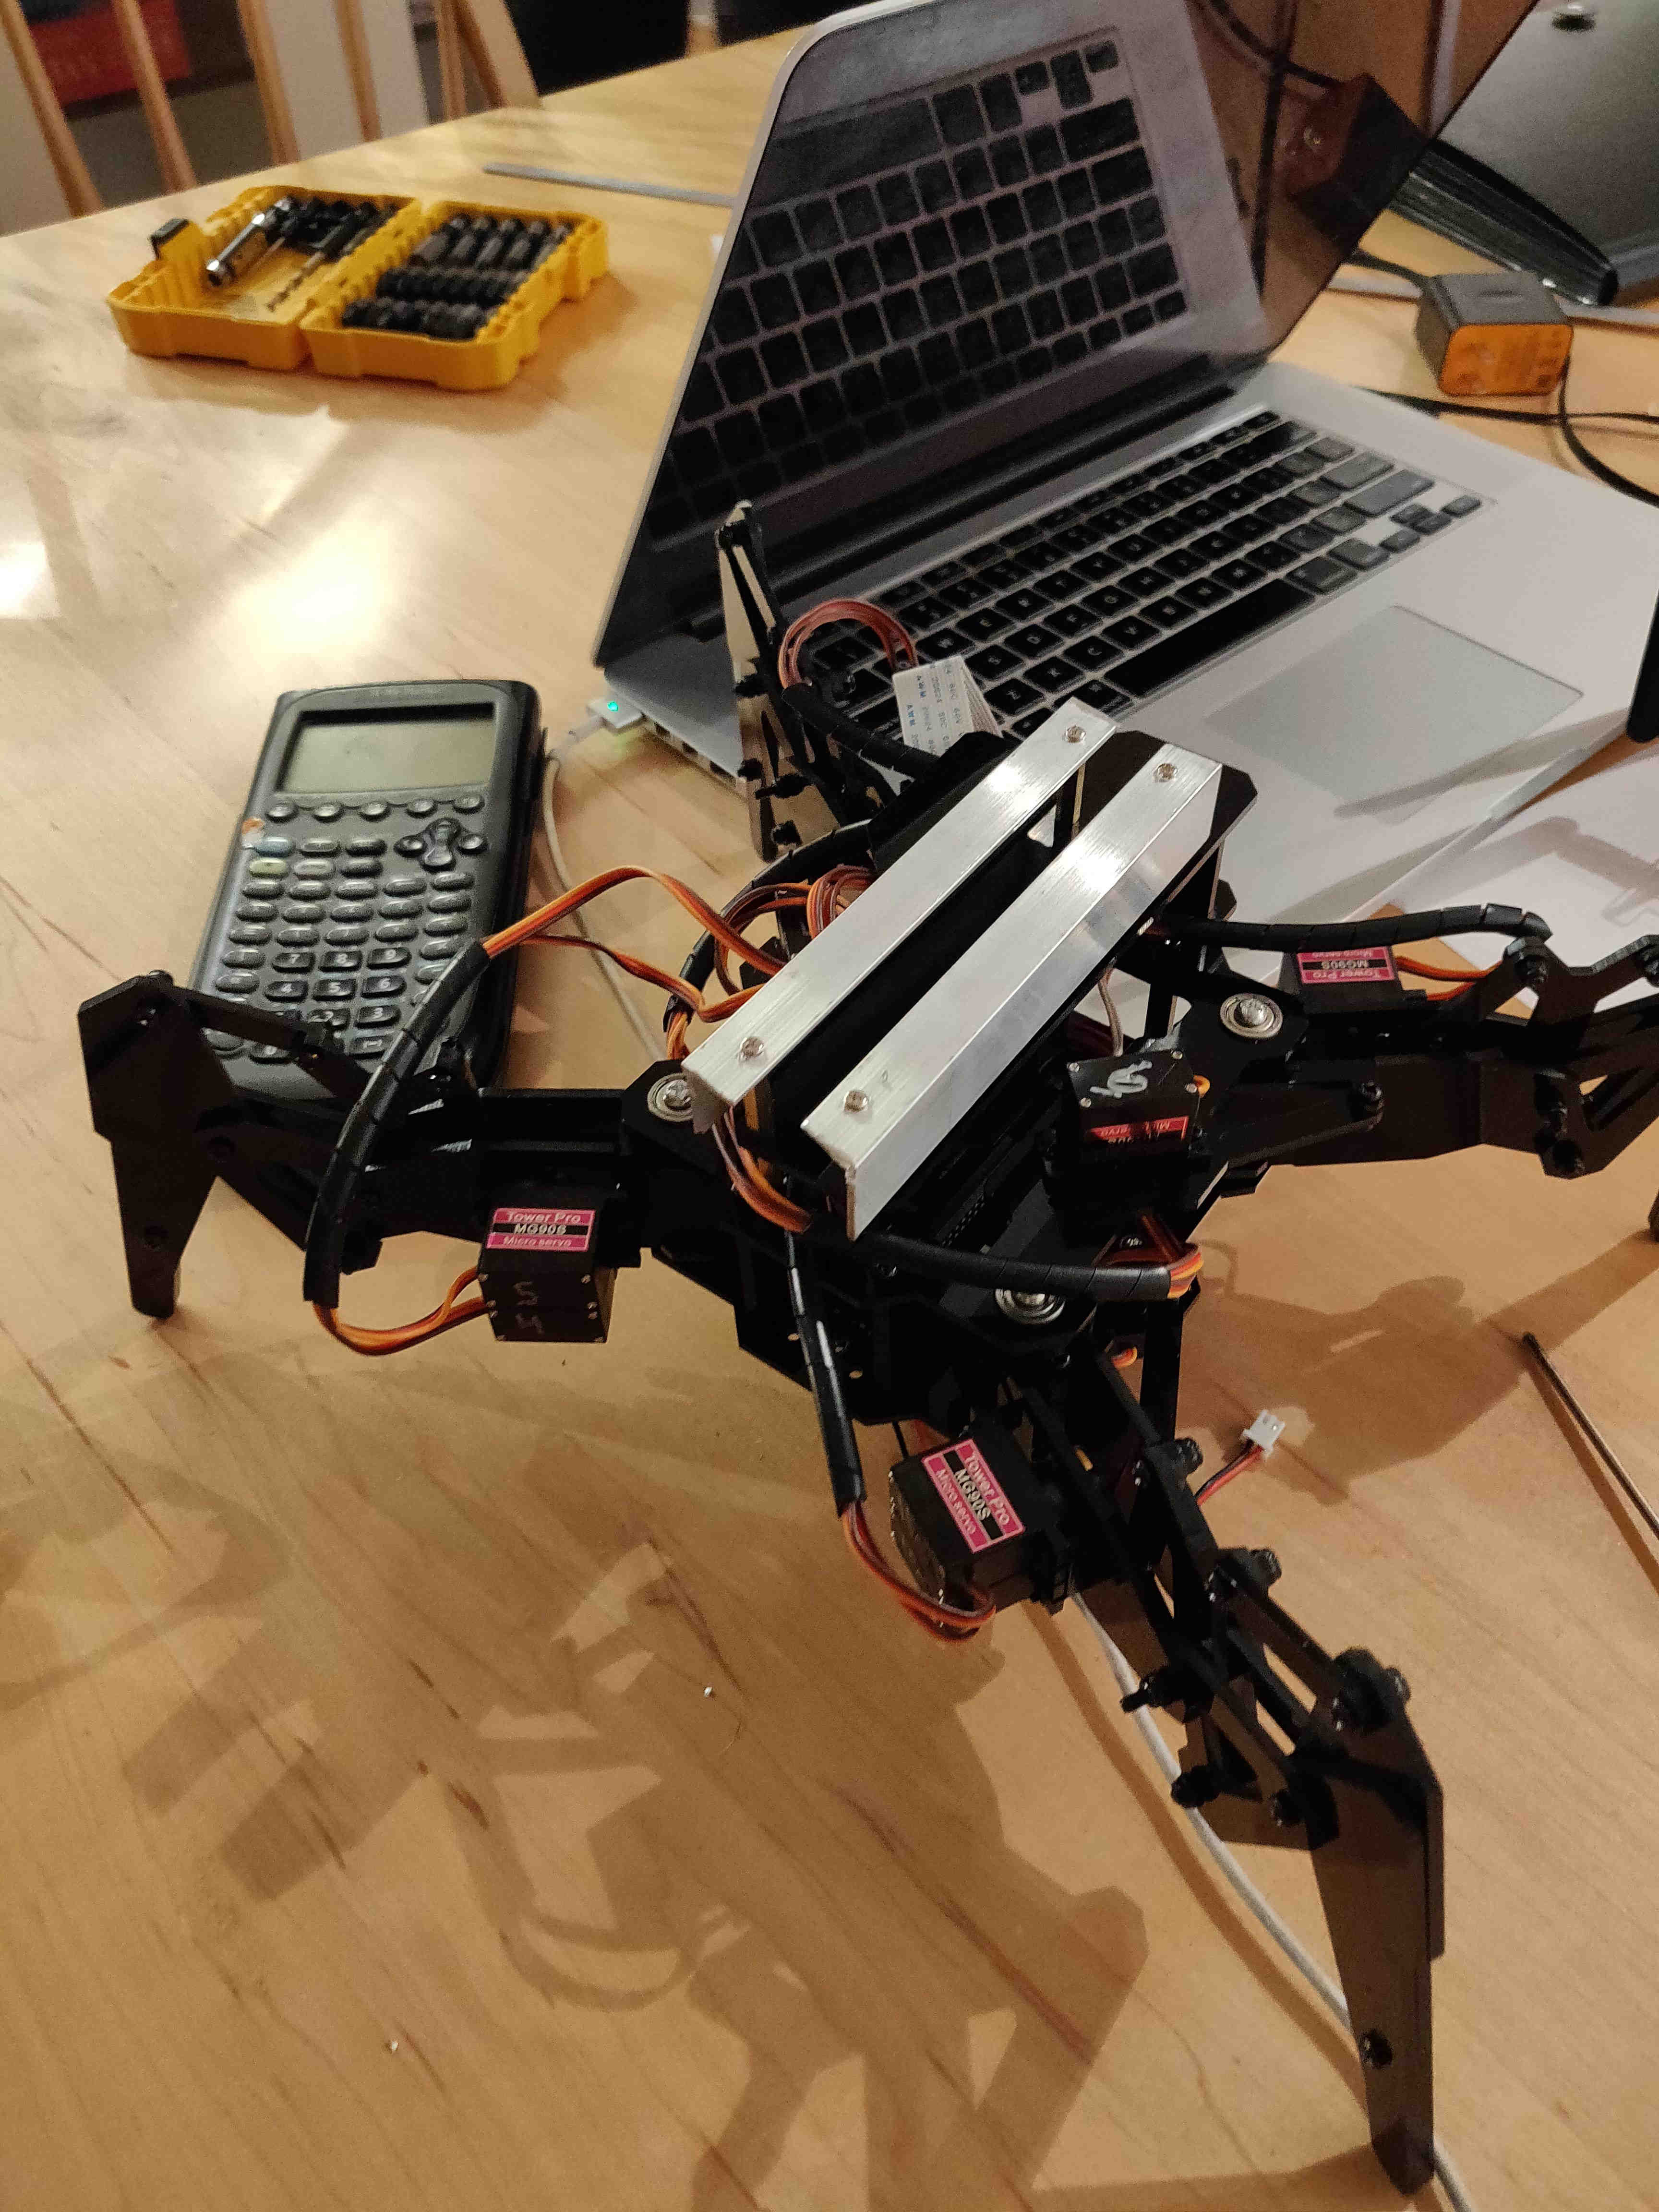
Integrated rails to mount on top of
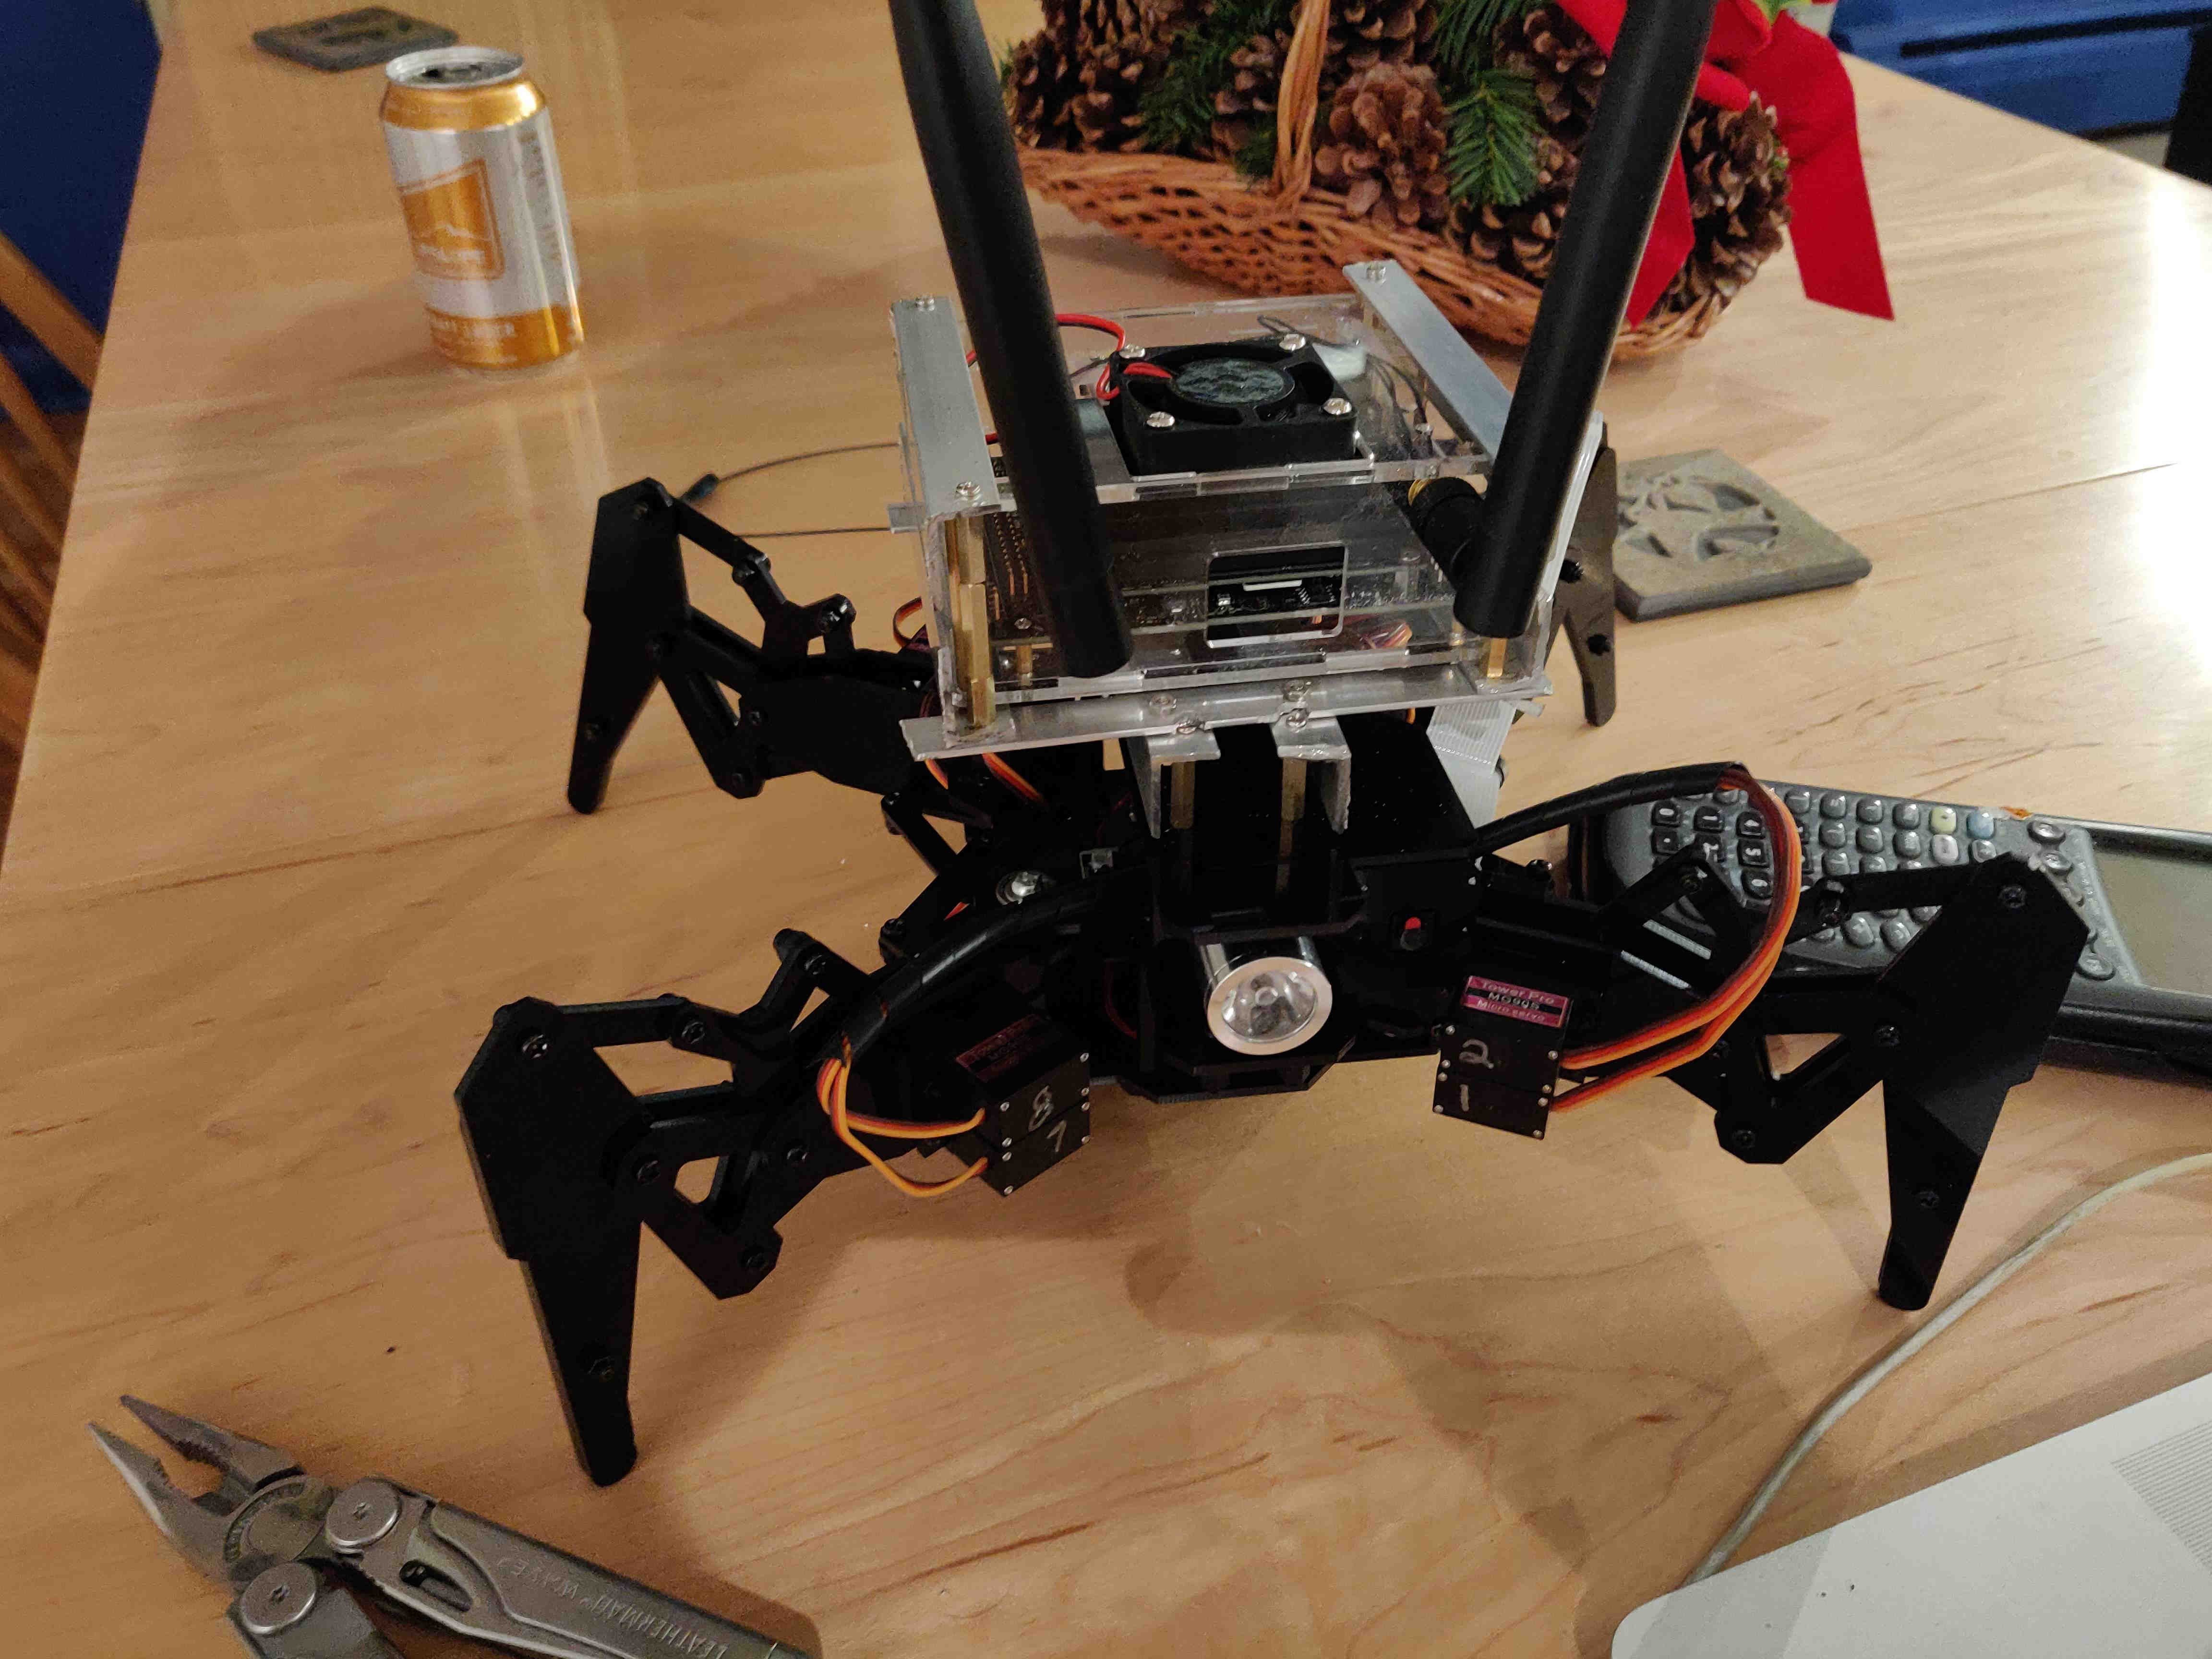
Mounting detail
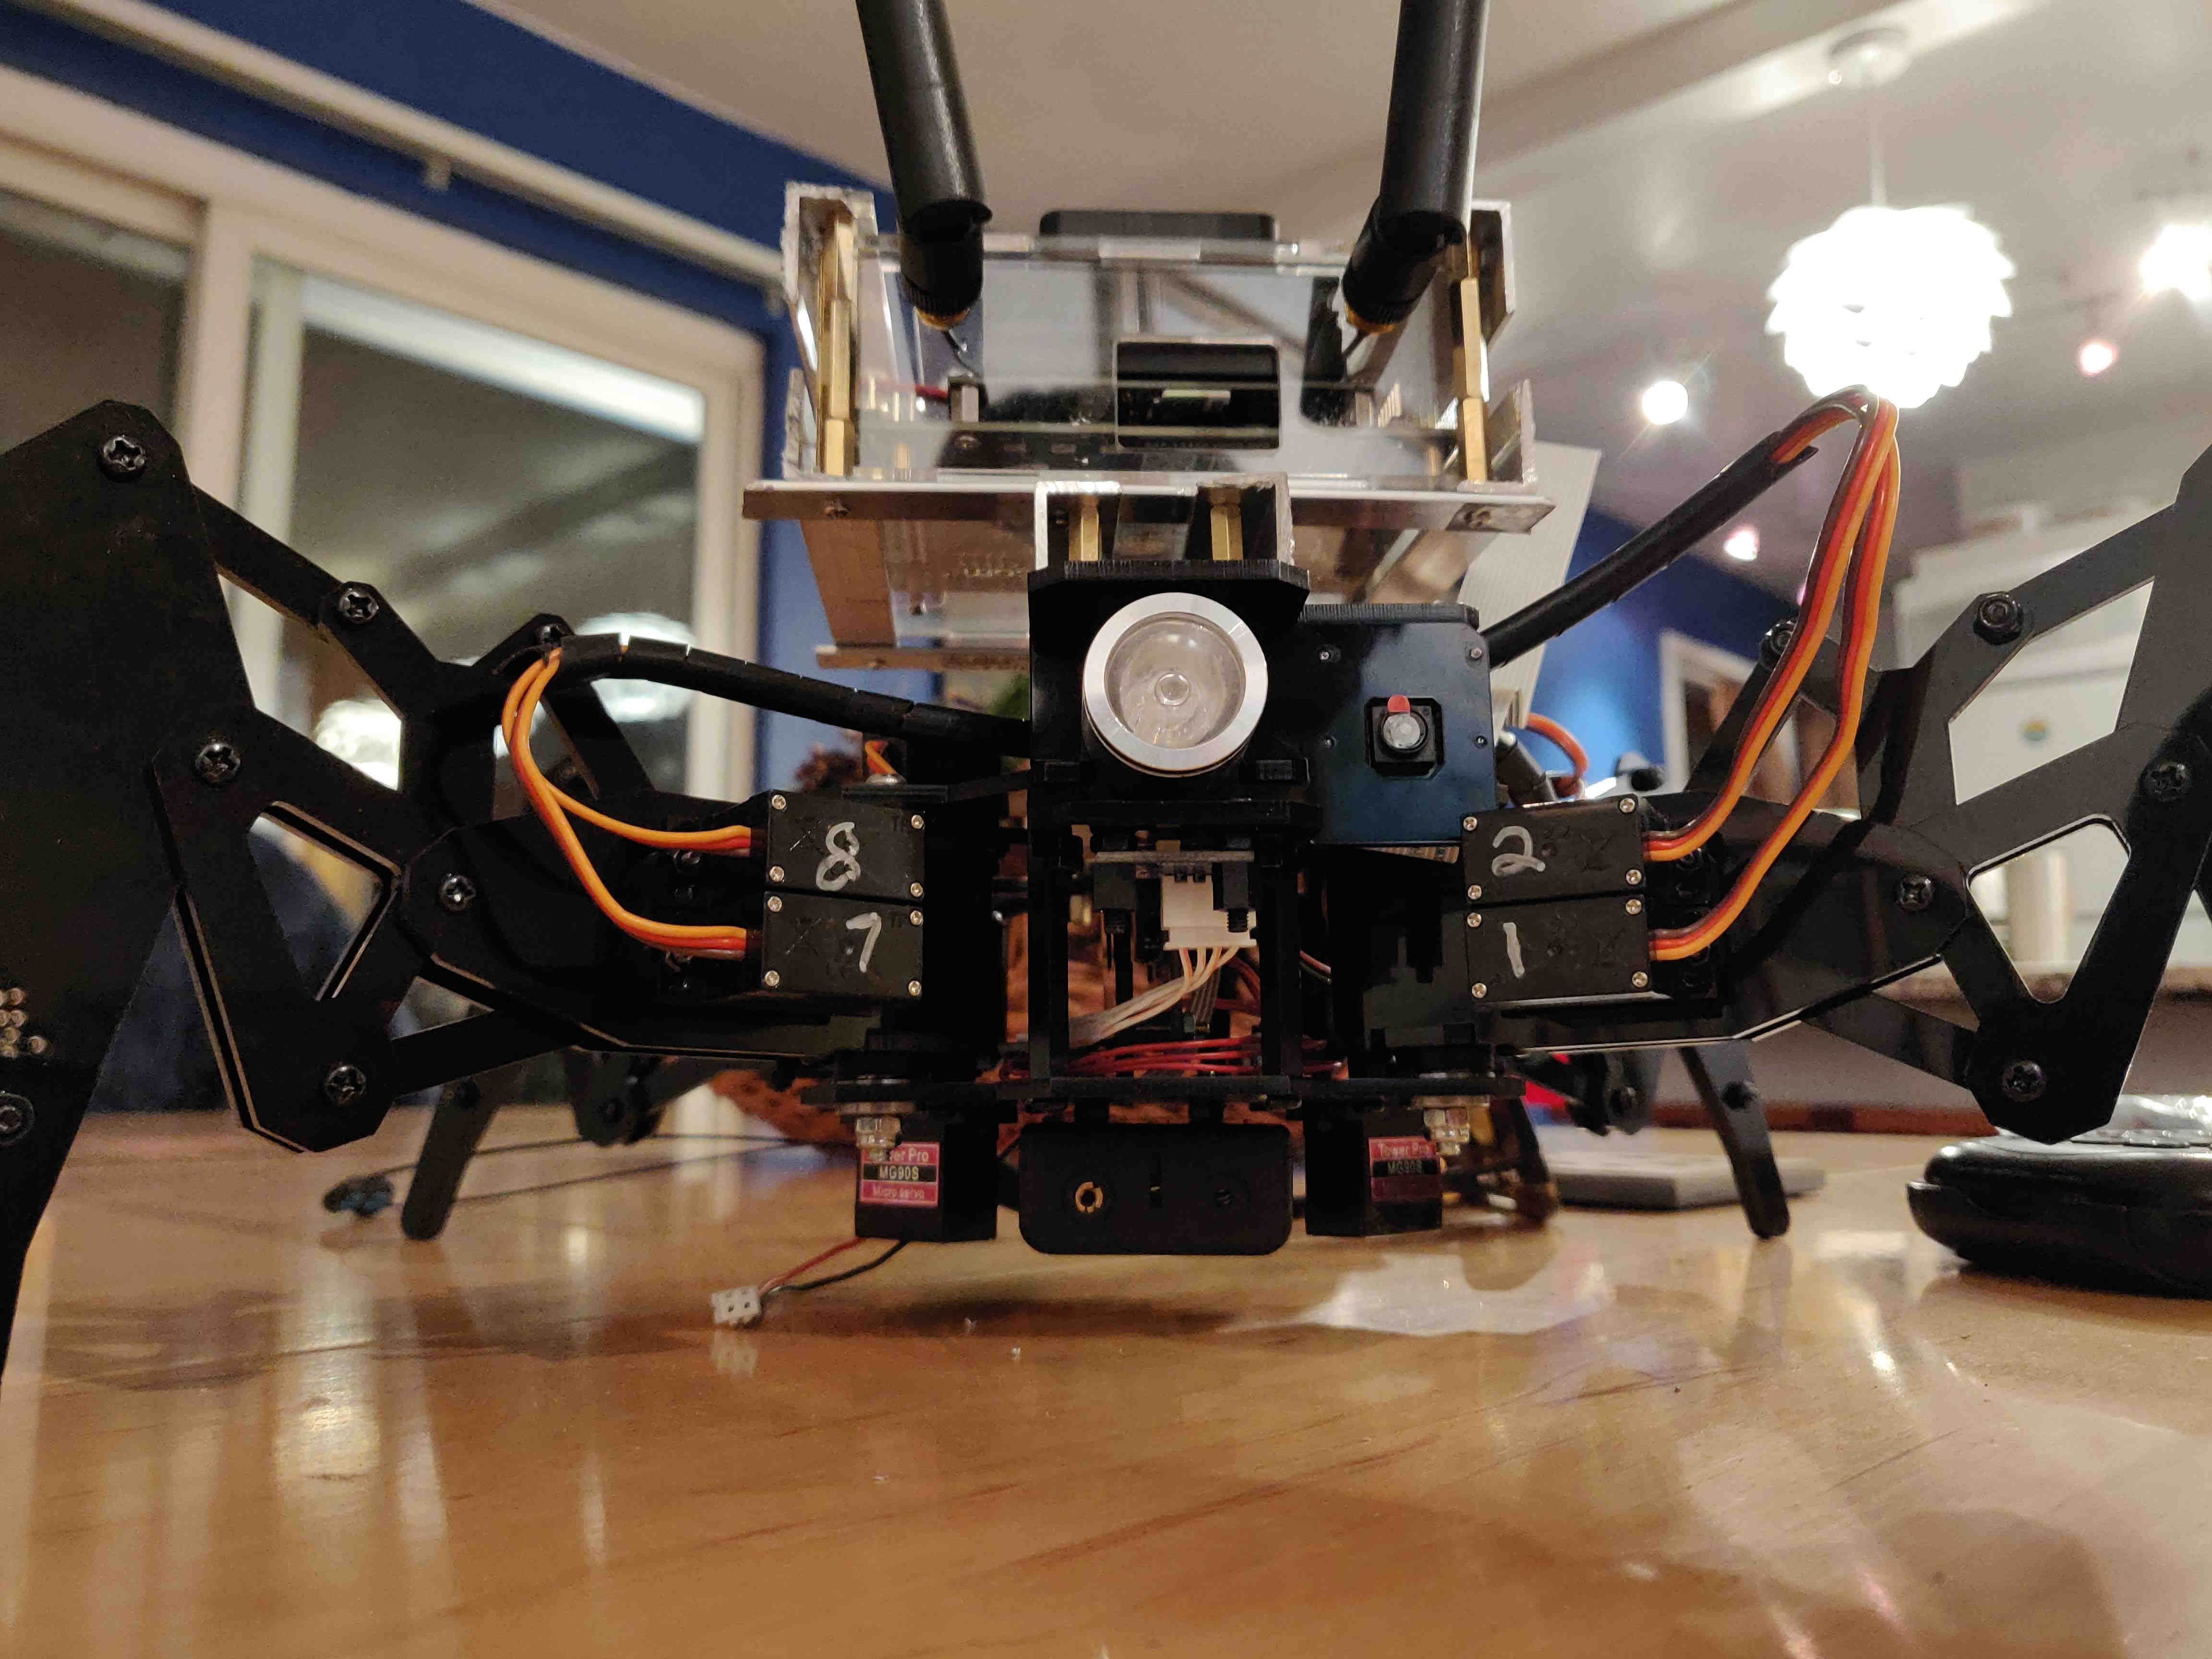
Up close and personal